| Line 325: | Line 325: | ||
|- |
|- |
||
|50 |
|50 |
||
| − | | style="text-align:left;"|[[Earth Shattering Pulses]] |
+ | | style="text-align:left;" |[[Earth Shattering Pulses]] |
|12 |
|12 |
||
| +290~380 |
| +290~380 |
||
| − | |rowspan="4" |[[Whistle]] |
+ | | rowspan="4" |[[Whistle]] |
| − | |rowspan="2" style="text-align:right"|[[Ground Splitting Gustav]] |
+ | | rowspan="2" style="text-align:right;" |[[Ground Splitting Gustav]] |
|- |
|- |
||
|51 |
|51 |
||
| − | |style="text-align:left;white-space:nowrap;"|[[With the Coming of Spring]] |
+ | | style="text-align:left;white-space:nowrap;" |[[With the Coming of Spring]] |
|13 |
|13 |
||
| − | + | | +260~320 |
|
|- |
|- |
||
|52 |
|52 |
||
| − | | style="text-align:left;"|[[The Giant's Destination]] |
+ | | style="text-align:left;" |[[The Giant's Destination]] |
|14 |
|14 |
||
| +270~340 |
| +270~340 |
||
| − | |rowspan="2" style="text-align:right"|[[(Rumbling) Ground Splitting Gustav]] |
+ | | rowspan="2" style="text-align:right;" |[[(Rumbling) Ground Splitting Gustav]] |
|- |
|- |
||
|53 |
|53 |
||
| − | | style="text-align:left;"|[[The Small Village]] |
+ | | style="text-align:left;" |[[The Small Village]] |
|15 |
|15 |
||
| +280~360 |
| +280~360 |
||
|- |
|- |
||
|54 |
|54 |
||
| − | | style="text-align:left;"|[[Road of Revenants]] |
+ | | style="text-align:left;" |[[Road of Revenants]] |
|16 |
|16 |
||
| +290~380 |
| +290~380 |
||
| − | |rowspan="4" style="white-space:nowrap;"|[[Pendant Locket]] |
+ | | rowspan="4" style="white-space:nowrap;" |[[Pendant Locket]] |
| − | |rowspan="2" style="text-align:right"|[[Ugolino the Spiritform]] |
+ | | rowspan="2" style="text-align:right;" |[[Ugolino the Spiritform]] |
|- |
|- |
||
|55 |
|55 |
||
| − | | style="text-align:left;"|[[Bloodriver Stream]] |
+ | | style="text-align:left;" |[[Bloodriver Stream]] |
|17 |
|17 |
||
| − | + | | +300~400 |
|
|- |
|- |
||
|56 |
|56 |
||
| − | | style="text-align:left;"|[[Voice of the Natives]] |
+ | | style="text-align:left;" |[[Voice of the Natives]] |
|18 |
|18 |
||
| +310~420 |
| +310~420 |
||
| − | |rowspan="2" style="text-align:right"|[[(Mortem) Ugolino the Spiritform]] |
+ | | rowspan="2" style="text-align:right;" |[[(Mortem) Ugolino the Spiritform]] |
|- |
|- |
||
|57 |
|57 |
||
| − | | style="text-align:left;"|[[Soul Salvation]] |
+ | | style="text-align:left;" |[[Soul Salvation]] |
|19 |
|19 |
||
| +320~430 |
| +320~430 |
||
|- |
|- |
||
|58 |
|58 |
||
| − | | style="text-align:left;"|[[The Wastelands]] |
+ | | style="text-align:left;" |[[The Wastelands]] |
|20 |
|20 |
||
| +290~380 |
| +290~380 |
||
| − | |rowspan="4" |[[Lantern]] |
+ | | rowspan="4" |[[Lantern]] |
| − | |rowspan="2" style="text-align:right"|[[Evil Spawning Atbash]] |
+ | | rowspan="2" style="text-align:right;" |[[Evil Spawning Atbash]] |
|- |
|- |
||
|59 |
|59 |
||
| − | | style="text-align:left;"|[[Devil in the Moonlight]] |
+ | | style="text-align:left;" |[[Devil in the Moonlight]] |
|21 |
|21 |
||
| +300~320 |
| +300~320 |
||
|- |
|- |
||
|60 |
|60 |
||
| − | | style="text-align:left;"|[[Wilderness Sprint]] |
+ | | style="text-align:left;" |[[Wilderness Sprint]] |
|22 |
|22 |
||
| +310~340 |
| +310~340 |
||
| − | |rowspan="2" style="text-align:right"|[[(Unleashing) Evil Spawning Atbash]] |
+ | | rowspan="2" style="text-align:right;" |[[(Unleashing) Evil Spawning Atbash]] |
|- |
|- |
||
|61 |
|61 |
||
| − | | style="text-align:left;"|[[The Lake's Secret]] |
+ | | style="text-align:left;" |[[The Lake's Secret]] |
|23 |
|23 |
||
| +320~360 |
| +320~360 |
||
|- |
|- |
||
|62 |
|62 |
||
| − | | style="text-align:left;"|[[The Fresh Cemetary]] |
+ | | style="text-align:left;" |[[The Fresh Cemetary]] |
|20 |
|20 |
||
| +290~380 |
| +290~380 |
||
| − | |rowspan="4" |[[Quill]] |
+ | | rowspan="4" |[[Quill]] |
| − | |rowspan="2" style="text-align:right"|[[Warrior Zealot Hayagriiva]] |
+ | | rowspan="2" style="text-align:right;" |[[Warrior Zealot Hayagriiva]] |
|- |
|- |
||
|63 |
|63 |
||
| − | | style="text-align:left;"|[[The Smell of Death]] |
+ | | style="text-align:left;" |[[The Smell of Death]] |
|21 |
|21 |
||
| +300~320 |
| +300~320 |
||
|- |
|- |
||
|64 |
|64 |
||
| − | | style="text-align:left;"|[[Divine Armor]] |
+ | | style="text-align:left;" |[[Divine Armor]] |
|22 |
|22 |
||
| +310~340 |
| +310~340 |
||
| − | |rowspan="2" style="text-align:right"|[[(Shield) Warrior Zealot Hayagriiva]] |
+ | | rowspan="2" style="text-align:right;" |[[(Shield) Warrior Zealot Hayagriiva]] |
|- |
|- |
||
|65 |
|65 |
||
| − | | style="text-align:left;"|[[Spirit Assistance]] |
+ | | style="text-align:left;" |[[Spirit Assistance]] |
|23 |
|23 |
||
| +320~360 |
| +320~360 |
||
|- |
|- |
||
|66 |
|66 |
||
| − | | style="text-align:left;"|[[Lofty Cloud Road]] |
+ | | style="text-align:left;" |[[Lofty Cloud Road]] |
|20 |
|20 |
||
| +290~380 |
| +290~380 |
||
| − | |rowspan="4" |[[Ocarina]] |
+ | | rowspan="4" |[[Ocarina]] |
| − | |rowspan="2" style="text-align:right"|[[Dragon Sage Drahoslav]] |
+ | | rowspan="2" style="text-align:right;" |[[Dragon Sage Drahoslav]] |
|- |
|- |
||
|67 |
|67 |
||
| − | | style="text-align:left;"|[[Over the Rainbow]] |
+ | | style="text-align:left;" |[[Over the Rainbow]] |
|21 |
|21 |
||
| +300~320 |
| +300~320 |
||
|- |
|- |
||
|68 |
|68 |
||
| − | | style="text-align:left;"|[[Dragon Sage's Roar]] |
+ | | style="text-align:left;" |[[Dragon Sage's Roar]] |
| − | + | |22 |
|
| +310~340 |
| +310~340 |
||
| − | |rowspan="2" style="text-align:right"|[[(Insightful) Dragon Sage Drahoslav]] |
+ | | rowspan="2" style="text-align:right;" |[[(Insightful) Dragon Sage Drahoslav]] |
|- |
|- |
||
|69 |
|69 |
||
| − | | style="text-align:left;"|[[Climax in the Clouds]] |
+ | | style="text-align:left;" |[[Climax in the Clouds]] |
| − | + | |23 |
|
| +320~360 |
| +320~360 |
||
|- |
|- |
||
|70 |
|70 |
||
| − | | style="text-align:left;"|[[Fires of Temptation]] |
+ | | style="text-align:left;" |[[Fires of Temptation]] |
|20 |
|20 |
||
| +290~380 |
| +290~380 |
||
| − | |rowspan="4" |[[Power Stone]] |
+ | | rowspan="4" |[[Power Stone]] |
| − | |rowspan="2" style="text-align:right"|[[Angel Eater Barrett]] |
+ | | rowspan="2" style="text-align:right;" |[[Angel Eater Barrett]] |
|- |
|- |
||
|71 |
|71 |
||
| − | | style="text-align:left;"|[[Withered Angels]] |
+ | | style="text-align:left;" |[[Withered Angels]] |
|21 |
|21 |
||
| +300~320 |
| +300~320 |
||
|- |
|- |
||
|72 |
|72 |
||
| − | | style="text-align:left;"|[[Forest Trailing]] |
+ | | style="text-align:left;" |[[Forest Trailing]] |
|22 |
|22 |
||
| +310~340 |
| +310~340 |
||
| − | |rowspan="2" style="text-align:right"|[[(Demonflame) Angel Eater Barrett]] |
+ | | rowspan="2" style="text-align:right;" |[[(Demonflame) Angel Eater Barrett]] |
|- |
|- |
||
|73 |
|73 |
||
| − | | style="text-align:left;"|[[Ascending Demon]] |
+ | | style="text-align:left;" |[[Ascending Demon]] |
|23 |
|23 |
||
| +320~360 |
| +320~360 |
||
|- |
|- |
||
|74 |
|74 |
||
| − | | style="text-align:left;"|[[Omen of War]] |
+ | | style="text-align:left;" |[[Omen of War]] |
|20 |
|20 |
||
| +290~380 |
| +290~380 |
||
| − | |rowspan="4" |[[Dice]] |
+ | | rowspan="4" |[[Dice]] |
| − | |rowspan="2" style="text-align:right"|[[Bardem, Wrath of Hades]] |
+ | | rowspan="2" style="text-align:right;" |[[Bardem, Wrath of Hades]] |
|- |
|- |
||
|75 |
|75 |
||
| − | | style="text-align:left;"|[[Army and the Beast]] |
+ | | style="text-align:left;" |[[Army and the Beast]] |
|21 |
|21 |
||
| +300~320 |
| +300~320 |
||
|- |
|- |
||
|76 |
|76 |
||
| − | | style="text-align:left;"|[[Tyrannical Beast Soldiers]] |
+ | | style="text-align:left;" |[[Tyrannical Beast Soldiers]] |
|22 |
|22 |
||
| +310~340 |
| +310~340 |
||
| − | |rowspan="2" style="text-align:right"|[[(Horned) Bardem, Wrath of Hades]] |
+ | | rowspan="2" style="text-align:right;" |[[(Horned) Bardem, Wrath of Hades]] |
|- |
|- |
||
|77 |
|77 |
||
| − | | style="text-align:left;"|[[Evil Beast's Fury]] |
+ | | style="text-align:left;" |[[Evil Beast's Fury]] |
|23 |
|23 |
||
| +320~360 |
| +320~360 |
||
|- |
|- |
||
|78 |
|78 |
||
| − | | style="text-align:left;"|[[The Fading Sun]] |
+ | | style="text-align:left;" |[[The Fading Sun]] |
|20 |
|20 |
||
| +290~380 |
| +290~380 |
||
| − | |rowspan="4" |[[Grimoire]] |
+ | | rowspan="4" |[[Grimoire]] |
| − | |rowspan="2" style="text-align:right"|[[Velvet the Decayed Monarch]] |
+ | | rowspan="2" style="text-align:right;" |[[Velvet the Decayed Monarch]] |
|- |
|- |
||
|79 |
|79 |
||
| − | | style="text-align:left;"|[[Consumed Conscience]] |
+ | | style="text-align:left;" |[[Consumed Conscience]] |
|21 |
|21 |
||
| +300~320 |
| +300~320 |
||
|- |
|- |
||
|80 |
|80 |
||
| − | | style="text-align:left;"|[[Stolen Rays]] |
+ | | style="text-align:left;" |[[Stolen Rays]] |
| − | + | |22 |
|
| +310~340 |
| +310~340 |
||
| − | |rowspan="2" style="text-align:right"|[[(Corona) Velvet the Decayed Monarch]] |
+ | | rowspan="2" style="text-align:right;" |[[(Corona) Velvet the Decayed Monarch]] |
|- |
|- |
||
|81 |
|81 |
||
| − | | style="text-align:left;"|[[The Black Sun]] |
+ | | style="text-align:left;" |[[The Black Sun]] |
|23 |
|23 |
||
| +320~360 |
| +320~360 |
||
|- |
|- |
||
|82 |
|82 |
||
| − | | style="text-align:left;"|[[The Heretic and the Tome]] |
+ | | style="text-align:left;" |[[The Heretic and the Tome]] |
|20 |
|20 |
||
| +290~380 |
| +290~380 |
||
| − | |rowspan="4" |[[Chalice]] |
+ | | rowspan="4" |[[Chalice]] |
| − | |rowspan="2" style="text-align:right"|[[Gregor the Soul Sucker]] |
+ | | rowspan="2" style="text-align:right;" |[[Gregor the Soul Sucker]] |
|- |
|- |
||
|83 |
|83 |
||
| − | | style="text-align:left;"|[[Flaming Corpses]] |
+ | | style="text-align:left;" |[[Flaming Corpses]] |
|21 |
|21 |
||
| +300~320 |
| +300~320 |
||
|- |
|- |
||
|84 |
|84 |
||
| − | | style="text-align:left;"|[[Shield Materials]] |
+ | | style="text-align:left;" |[[Shield Materials]] |
|22 |
|22 |
||
| +310~340 |
| +310~340 |
||
| − | |rowspan="2" style="text-align:right"|[[(Blaze) Gregor the Soul Sucker]] |
+ | | rowspan="2" style="text-align:right;" |[[(Blaze) Gregor the Soul Sucker]] |
|- |
|- |
||
|85 |
|85 |
||
| − | | style="text-align:left;"|[[Last Wish]] |
+ | | style="text-align:left;" |[[Last Wish]] |
|23 |
|23 |
||
| +320~360 |
| +320~360 |
||
|- |
|- |
||
|86 |
|86 |
||
| − | | style="text-align:left;"|[[Windy Plains]] |
+ | | style="text-align:left;" |[[Windy Plains]] |
|20 |
|20 |
||
| +290~380 |
| +290~380 |
||
| − | |rowspan="4" |[[Máti]] |
+ | | rowspan="4" |[[Máti]] |
| − | |rowspan="2" style="text-align:right"|[[Plains Warrior Ulysses]] |
+ | | rowspan="2" style="text-align:right;" |[[Plains Warrior Ulysses]] |
|- |
|- |
||
|87 |
|87 |
||
| − | | style="text-align:left;"|[[Tenacious Spirit]] |
+ | | style="text-align:left;" |[[Tenacious Spirit]] |
|21 |
|21 |
||
| +300~320 |
| +300~320 |
||
|- |
|- |
||
|88 |
|88 |
||
| − | | style="text-align:left;"|[[Will for Victory]] |
+ | | style="text-align:left;" |[[Will for Victory]] |
|22 |
|22 |
||
| +310~340 |
| +310~340 |
||
| − | |rowspan="2" style="text-align:right"|[[(Windstreak) Plains Warrior Ulysses]] |
+ | | rowspan="2" style="text-align:right;" |[[(Windstreak) Plains Warrior Ulysses]] |
|- |
|- |
||
|89 |
|89 |
||
| − | | style="text-align:left;"|[[The Showdown]] |
+ | | style="text-align:left;" |[[The Showdown]] |
|23 |
|23 |
||
| +320~360 |
| +320~360 |
||
|- |
|- |
||
|90 |
|90 |
||
| − | | style="text-align:left;"|[[Bone Path]] |
+ | | style="text-align:left;" |[[Bone Path]] |
|20 |
|20 |
||
| +290~380 |
| +290~380 |
||
| − | |rowspan="4" |[[Orb]] |
+ | | rowspan="4" |[[Orb]] |
| − | |rowspan="2" style="text-align:right"|[[Diagoras, Death Leader]] |
+ | | rowspan="2" style="text-align:right;" |[[Diagoras, Death Leader]] |
|- |
|- |
||
|91 |
|91 |
||
| − | | style="text-align:left;"|[[The Dark Spheres]] |
+ | | style="text-align:left;" |[[The Dark Spheres]] |
|21 |
|21 |
||
| +300~320 |
| +300~320 |
||
|- |
|- |
||
|92 |
|92 |
||
| − | | style="text-align:left;"|[[Death's Desire]] |
+ | | style="text-align:left;" |[[Death's Desire]] |
|22 |
|22 |
||
| +310~340 |
| +310~340 |
||
| − | |rowspan="2" style="text-align:right"|[[(Soulbearer) Diagoras, Death Leader]] |
+ | | rowspan="2" style="text-align:right;" |[[(Soulbearer) Diagoras, Death Leader]] |
|- |
|- |
||
|93 |
|93 |
||
| − | | style="text-align:left;"|[[Lingering Mortality]] |
+ | | style="text-align:left;" |[[Lingering Mortality]] |
|23 |
|23 |
||
| +320~360 |
| +320~360 |
||
|- |
|- |
||
|94 |
|94 |
||
| − | | style="text-align:left;"|[[Ruins of Ash]] |
+ | | style="text-align:left;" |[[Ruins of Ash]] |
|20 |
|20 |
||
| +290~380 |
| +290~380 |
||
| − | |rowspan="4" |[[Dragon Scale]] |
+ | | rowspan="4" |[[Dragon Scale]] |
| − | |rowspan="2" style="text-align:right"|[[Ruin Incinerator Folkrio]] |
+ | | rowspan="2" style="text-align:right;" |[[Ruin Incinerator Folkrio]] |
|- |
|- |
||
|95 |
|95 |
||
| − | | style="text-align:left;"|[[Caller of Hellfire]] |
+ | | style="text-align:left;" |[[Caller of Hellfire]] |
|21 |
|21 |
||
| +300~320 |
| +300~320 |
||
|- |
|- |
||
|96 |
|96 |
||
| − | | style="text-align:left;"|[[Merciless Scars]] |
+ | | style="text-align:left;" |[[Merciless Scars]] |
|22 |
|22 |
||
| +310~340 |
| +310~340 |
||
| − | |rowspan="2" style="text-align:right"|[[(Debris) Ruin Incinerator Folkrio]] |
+ | | rowspan="2" style="text-align:right;" |[[(Debris) Ruin Incinerator Folkrio]] |
|- |
|- |
||
|97 |
|97 |
||
| − | | style="text-align:left;"|[[Ancient Blaze]] |
+ | | style="text-align:left;" |[[Ancient Blaze]] |
|23 |
|23 |
||
| +320~360 |
| +320~360 |
||
|- |
|- |
||
|98 |
|98 |
||
| − | | style="text-align:left;"|[[Moving Mountain]] |
+ | | style="text-align:left;" |[[Moving Mountain]] |
|20 |
|20 |
||
| +290~380 |
| +290~380 |
||
| − | |rowspan="4" |[[Seashell (Quest Treasure)|Seashell]] |
+ | | rowspan="4" |[[Seashell (Quest Treasure)|Seashell]] |
| − | |rowspan="2" style="text-align:right"|[[Brute Handler Izabela]] |
+ | | rowspan="2" style="text-align:right;" |[[Brute Handler Izabela]] |
|- |
|- |
||
|99 |
|99 |
||
| − | | style="text-align:left;"|[[Disciplinary Methods]] |
+ | | style="text-align:left;" |[[Disciplinary Methods]] |
|21 |
|21 |
||
| +300~320 |
| +300~320 |
||
|- |
|- |
||
|100 |
|100 |
||
| − | | style="text-align:left;"|[[Monster's Master]] |
+ | | style="text-align:left;" |[[Monster's Master]] |
|22 |
|22 |
||
| − | + | | +310~340 |
|
| − | |rowspan="2" style="text-align:right"|[[(Stringent) Brute Handler Izabela]] |
+ | | rowspan="2" style="text-align:right;" |[[(Stringent) Brute Handler Izabela]] |
|- |
|- |
||
|101 |
|101 |
||
| − | | style="text-align:left;"|[[Display of Affection]] |
+ | | style="text-align:left;" |[[Display of Affection]] |
|23 |
|23 |
||
| +320~360 |
| +320~360 |
||
Revision as of 10:19, 15 June 2021
Quest enables to improve character by battling hostile creatures and evil minions. Players can also acquire new Cryptids this way. Not only that, quests are a way to explore the world of Neotellus.
General
- EXP: Players will level up by accumulating Experience points from battles. More detailed on this page : Experience
- Energy: Questing requires a considerable amount of Energy.
- Coins: Defeated monsters drop Coins.
- Treasure: Occasionally, certain Treasures can be obtained during the adventures.
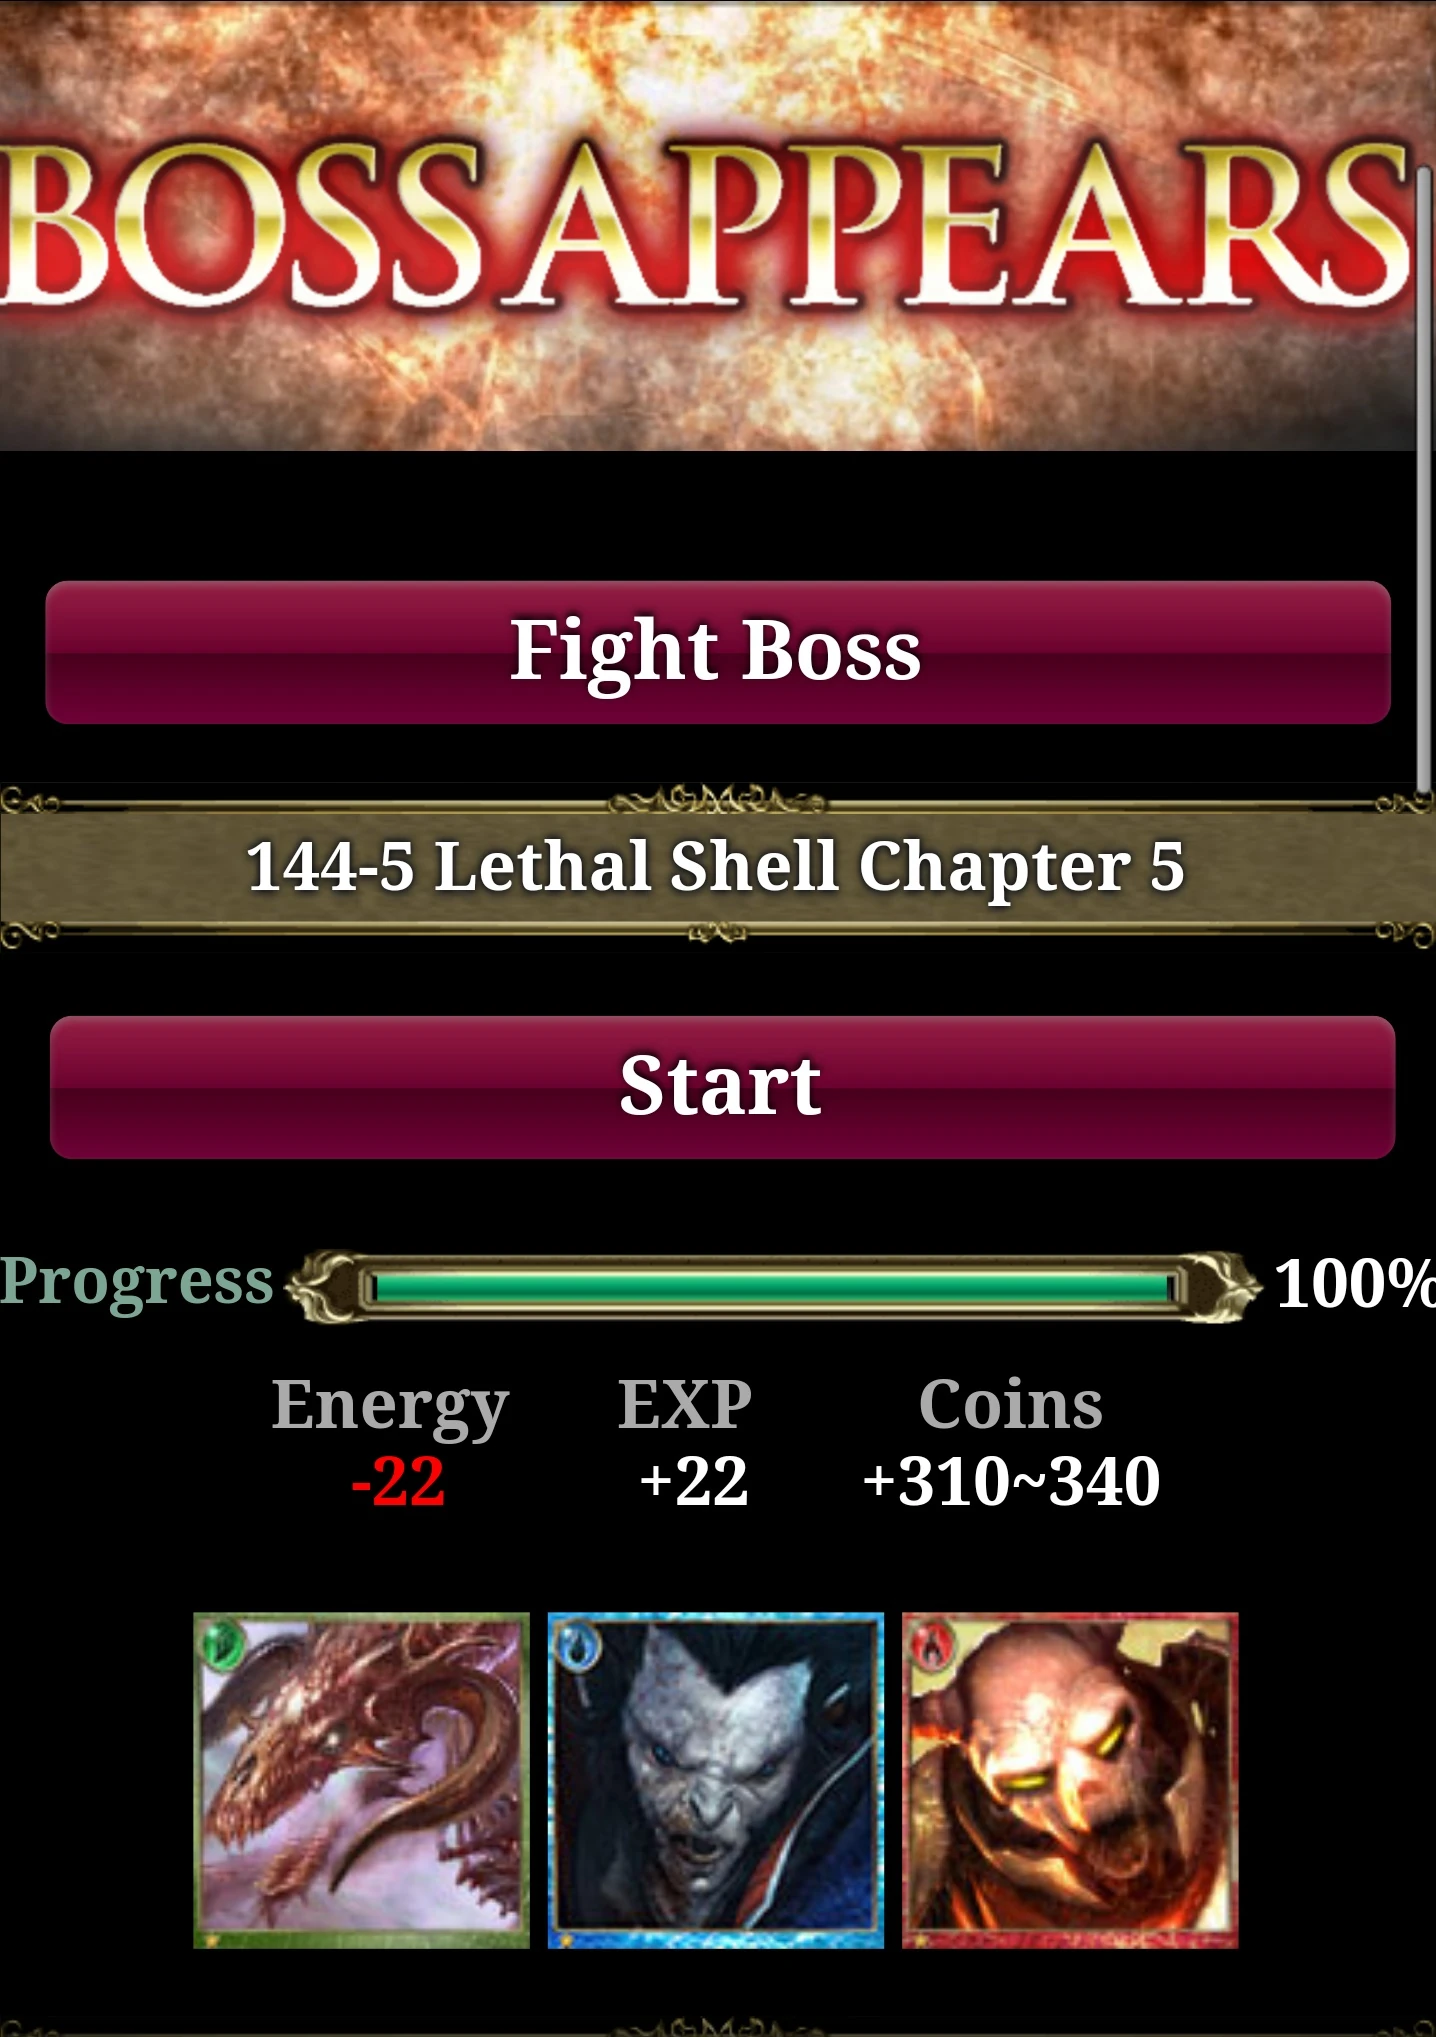
- Boss Battles: After clearing an entire area, a boss will confront you.
Quests
")
Quest 1
")
Quest 2
")
Quest 3
")
Quest 4
")
Quest 5
")
Quest 38
")
Quest 39
")
Quest 40